Skip to content

Take a Course Tour

“Relaxing, enjoyable golf with hidden subtle challenges” is the way course designer and supporter Greg Turner, former touring professional and now course designer describes Cromwell golf course.


Central Otago golf is all about fun in the sun amidst some fabulous scenery and few will walk away without a relieved wry smile or grin when they reflect on how they have played.

A generous climate and terrain resembling a coastal links area mean the Cromwell course is available all year round with little weather disruption.

We are not a resort course but strive to be “The Best of the Rest”. And after you have played it we think you’ll agree the $1M development, carried out in 2010-12 has resulted in a far more challenging and interesting golf course.

If you’re ready to accept the challenge phone 03 445 0165 or email bookings@cromwellgolf.co.nz to book a tee time now.

Hole 1 – Junction

Par 5 – Yellow 457m, White 504m – Stroke 3

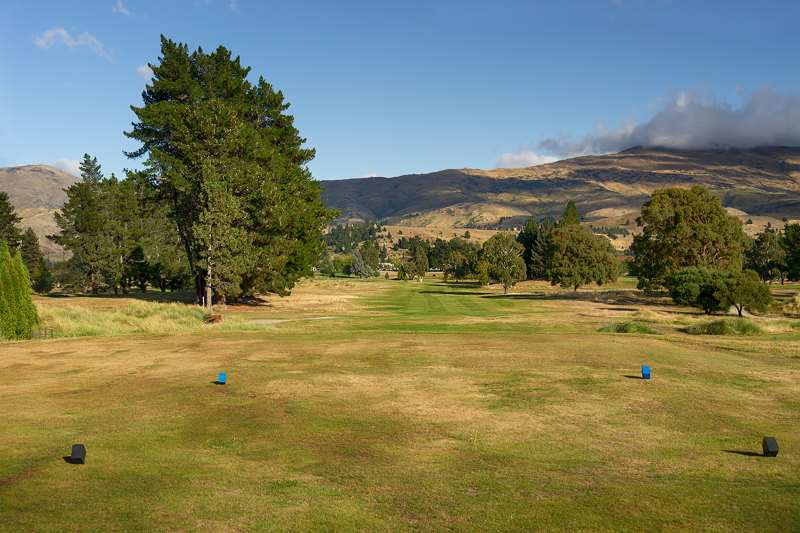
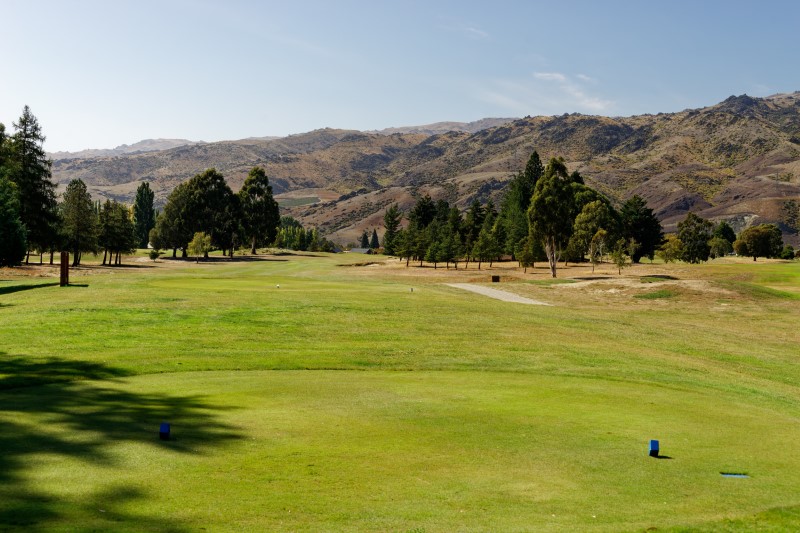
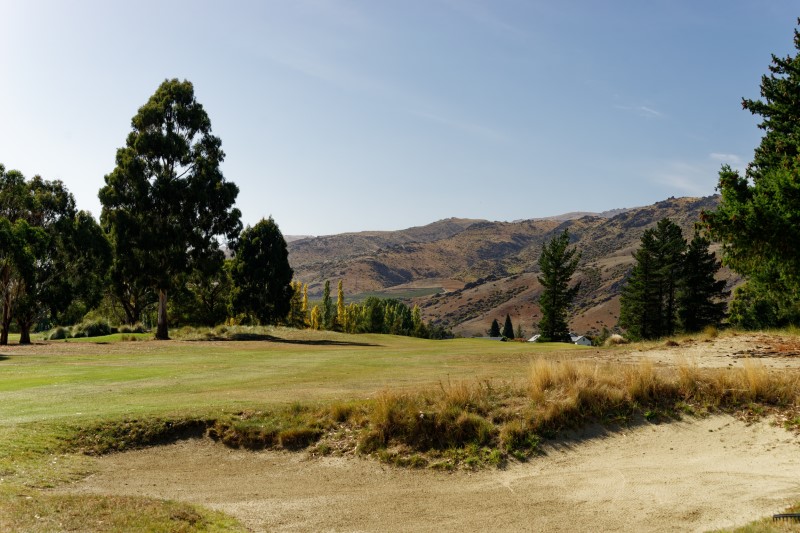
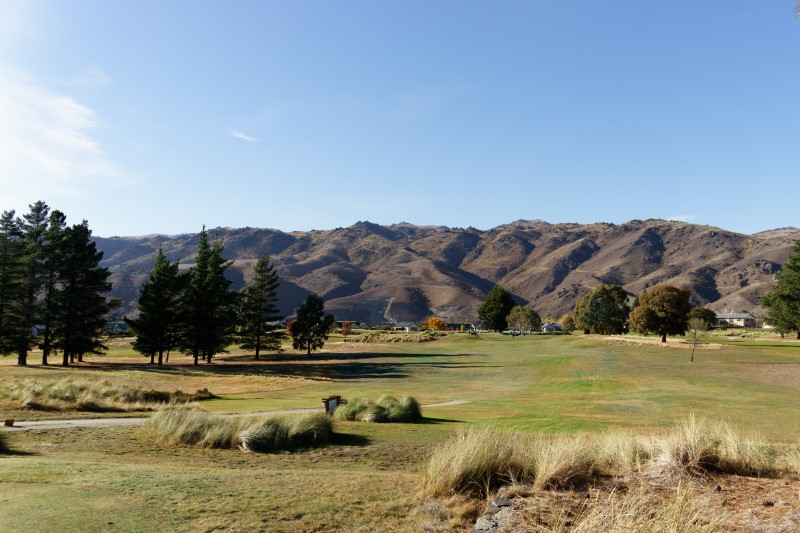
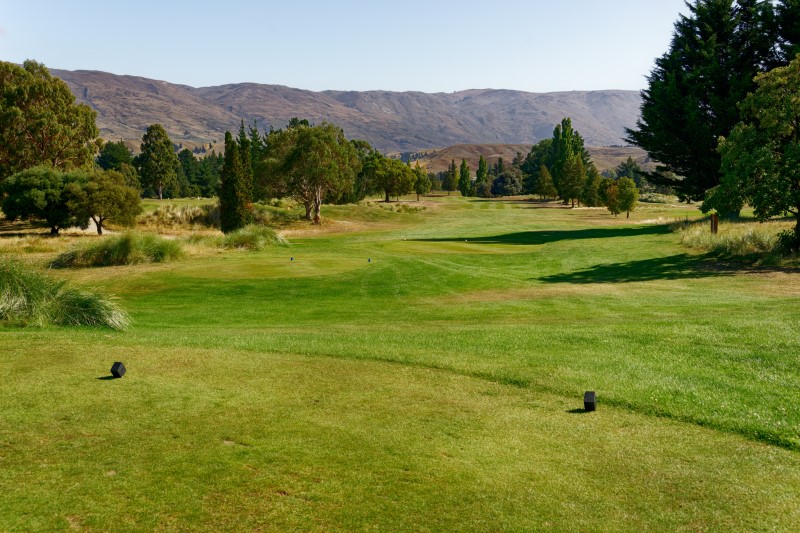
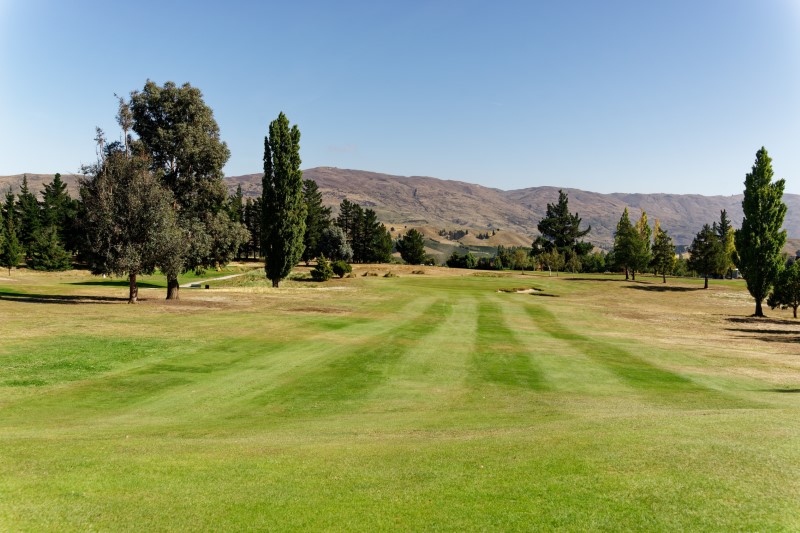
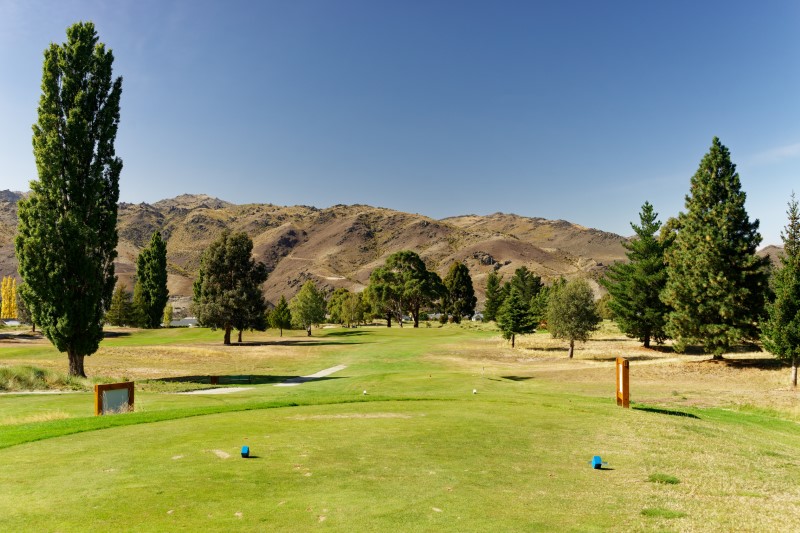
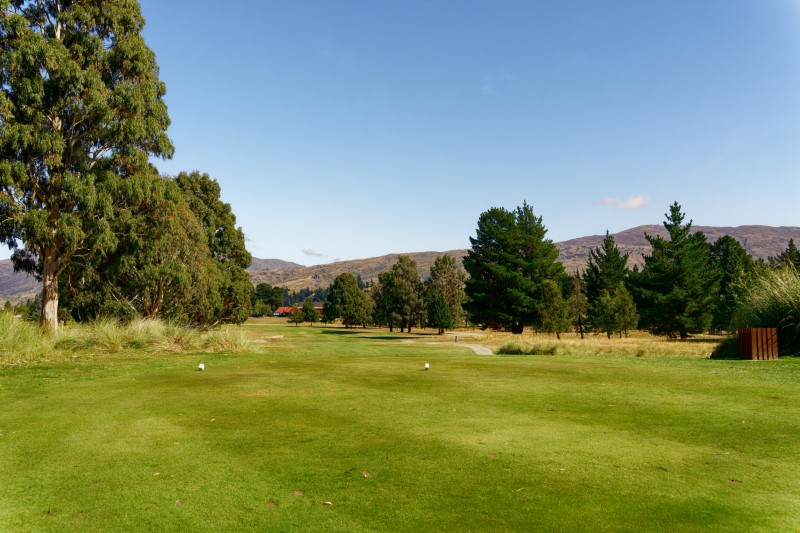
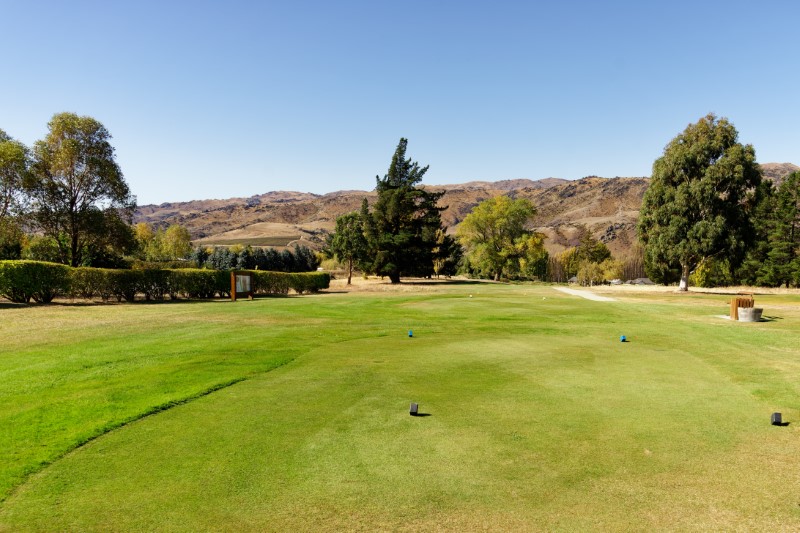
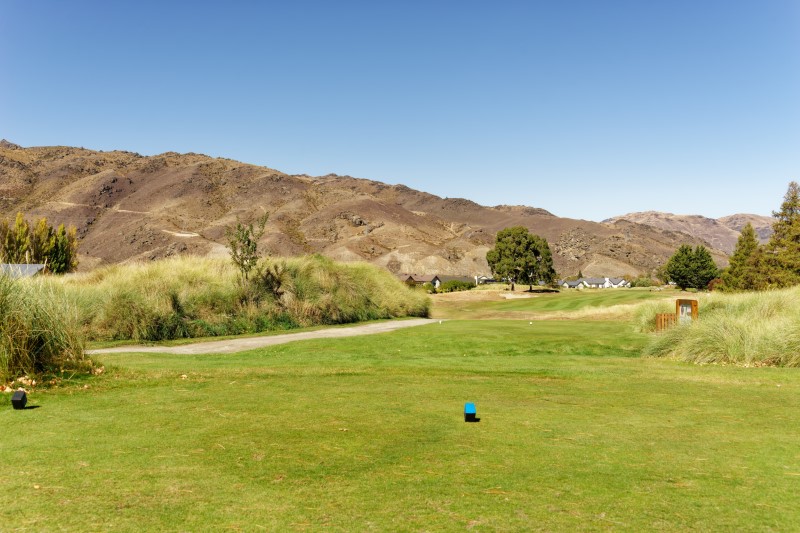
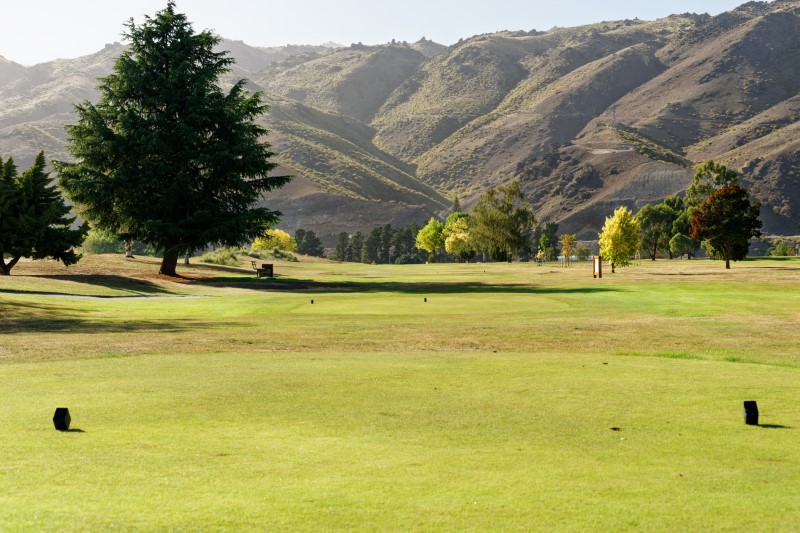
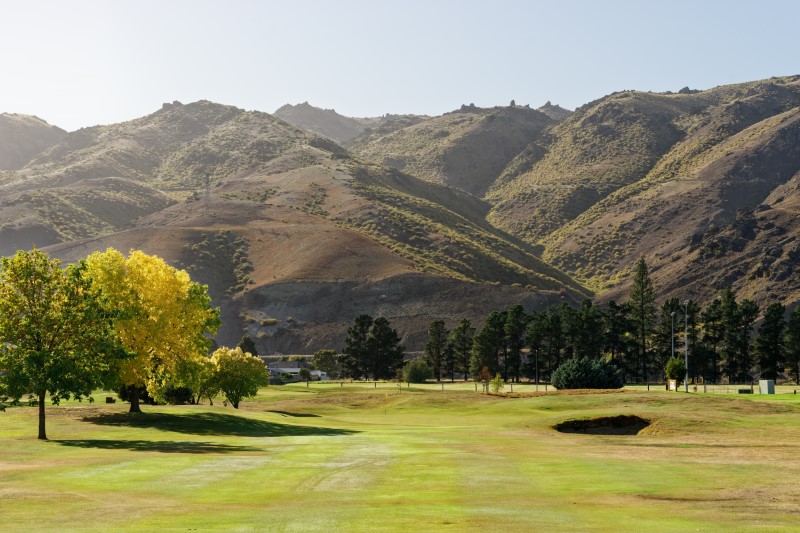
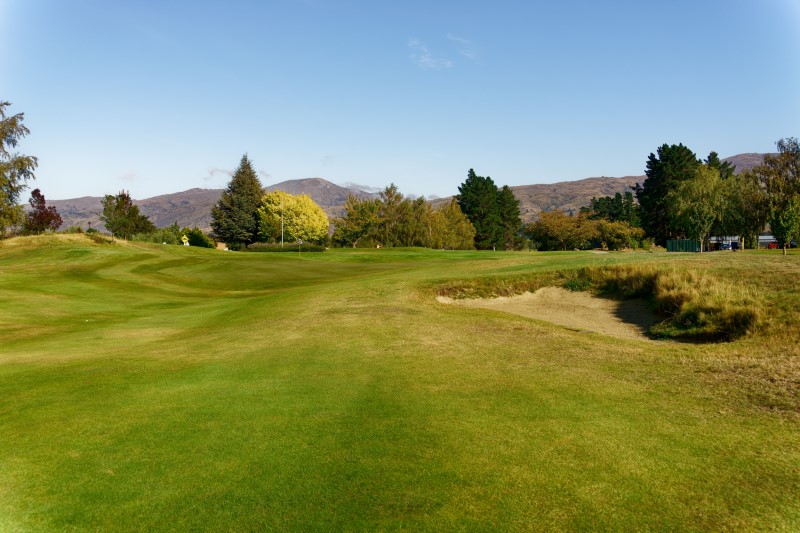
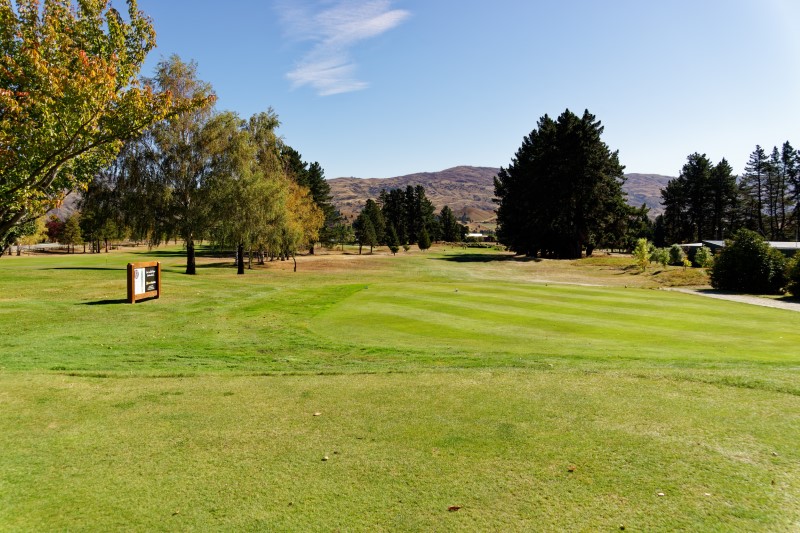
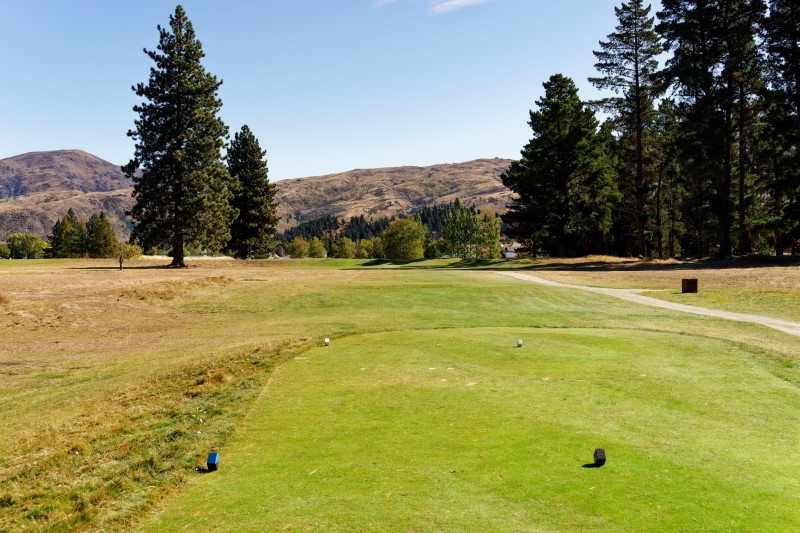
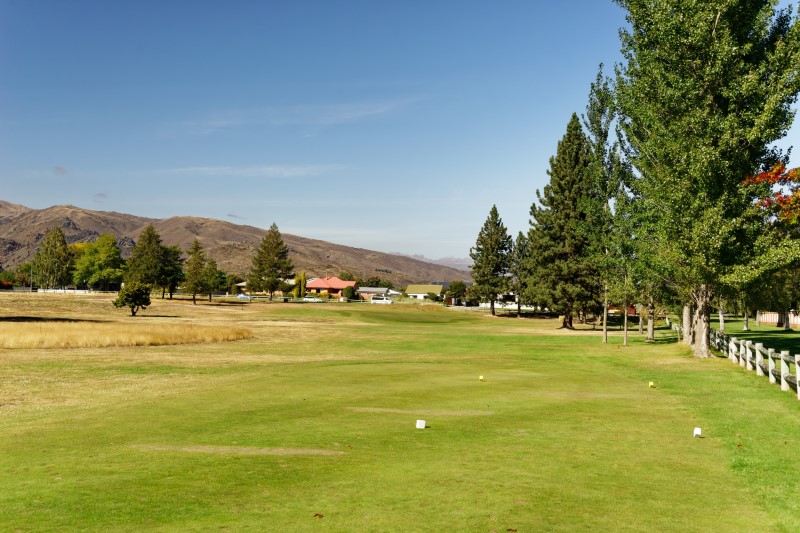
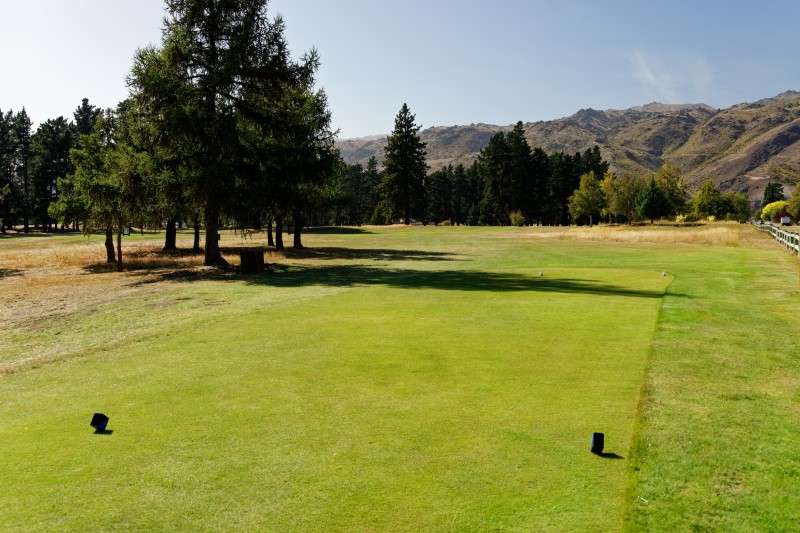
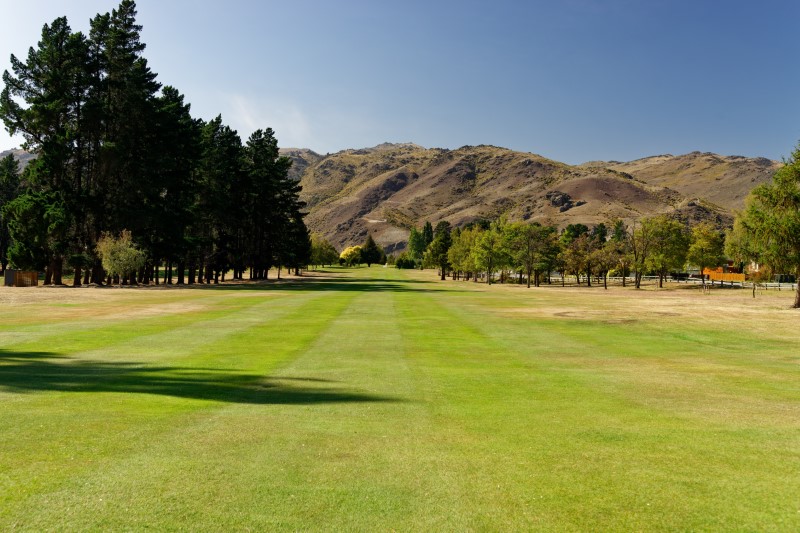
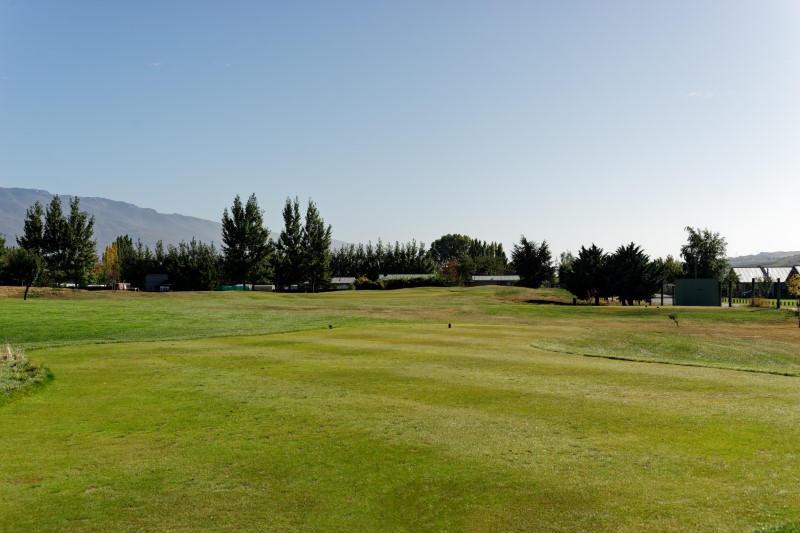
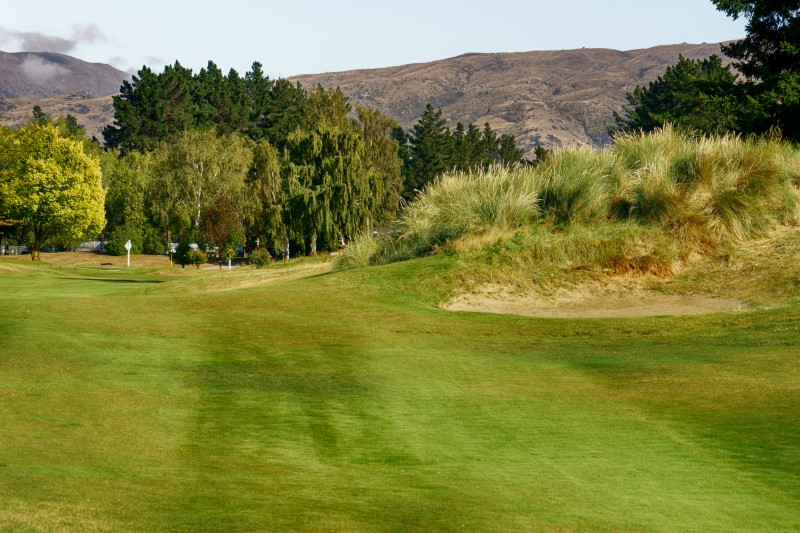
As you stand on the first tee freeing up your arms the full vista of the Pisa Range beckons. Below, the fairway falls away gradually, protected by pines on the left and Marram grass to the right, but providing a friendly, wide landing area. 
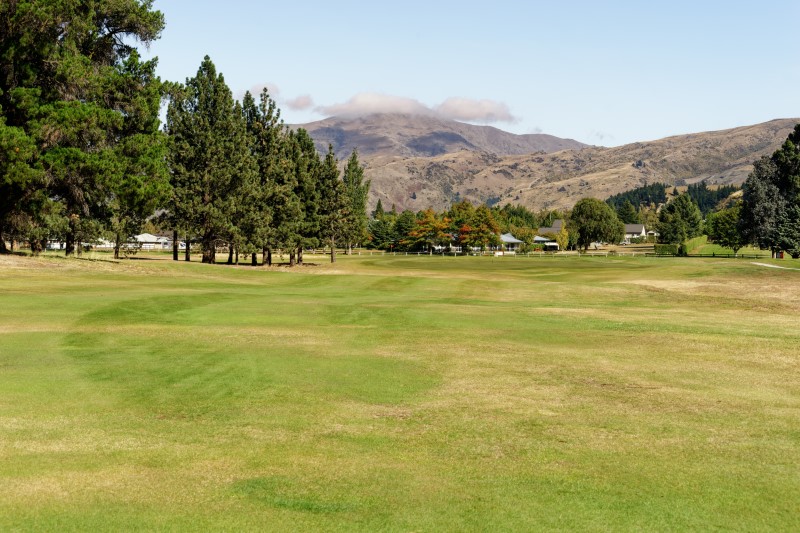
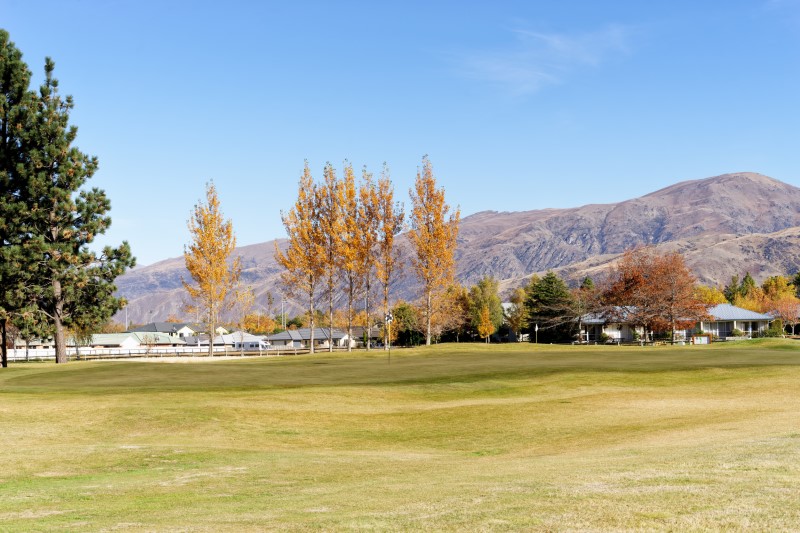
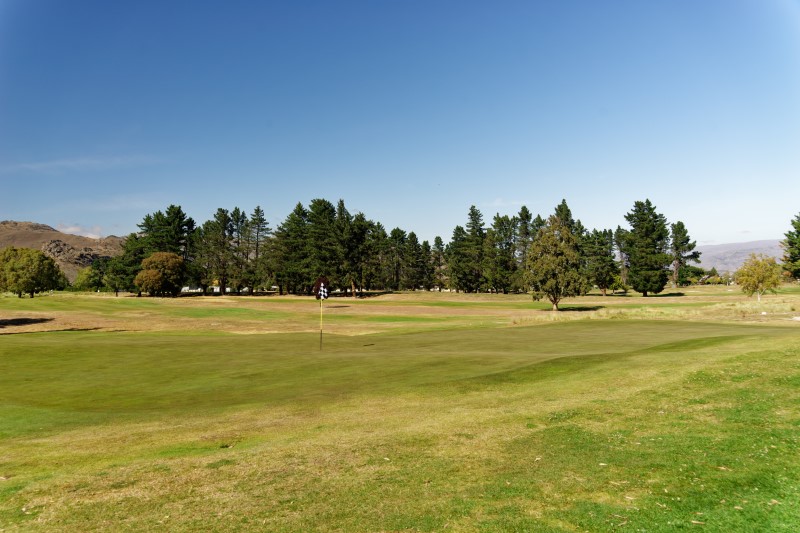
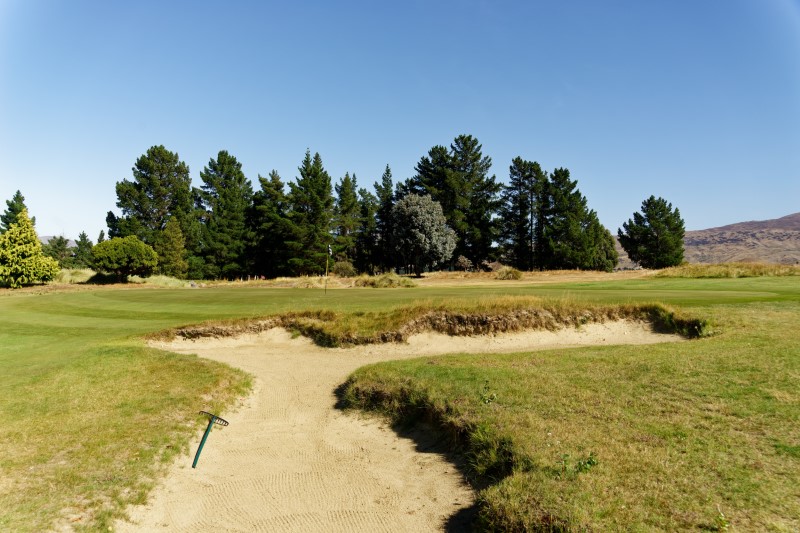
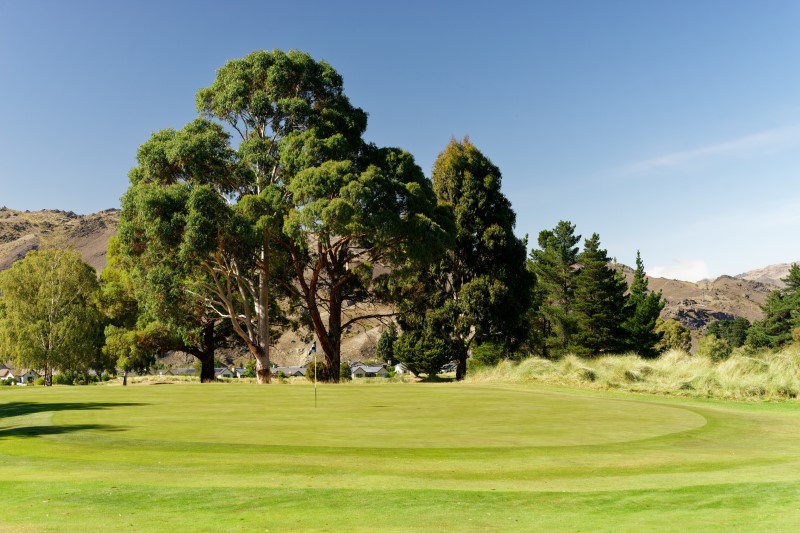
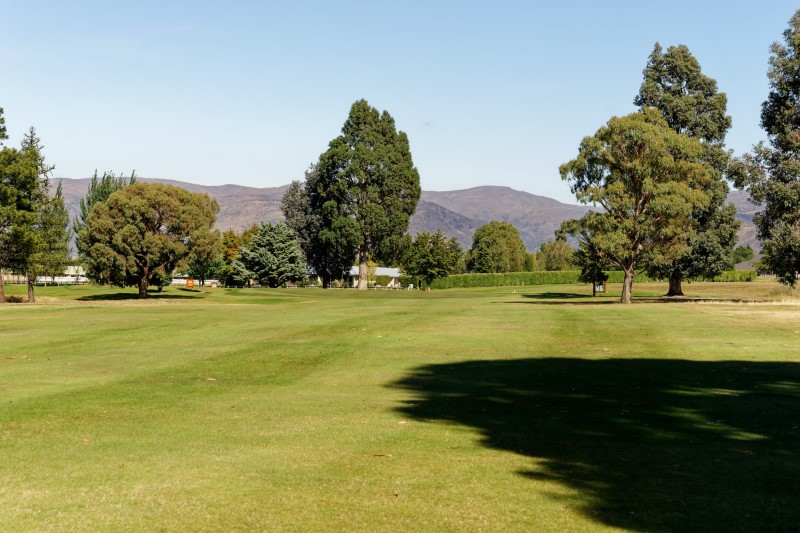
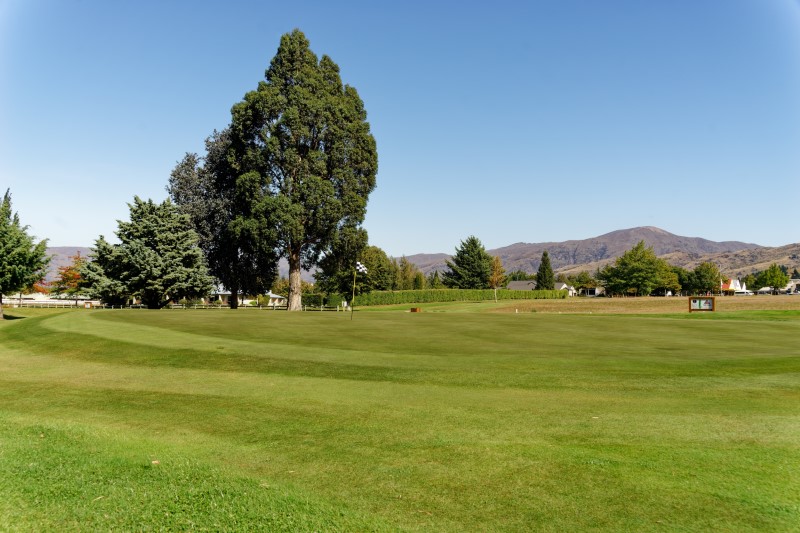
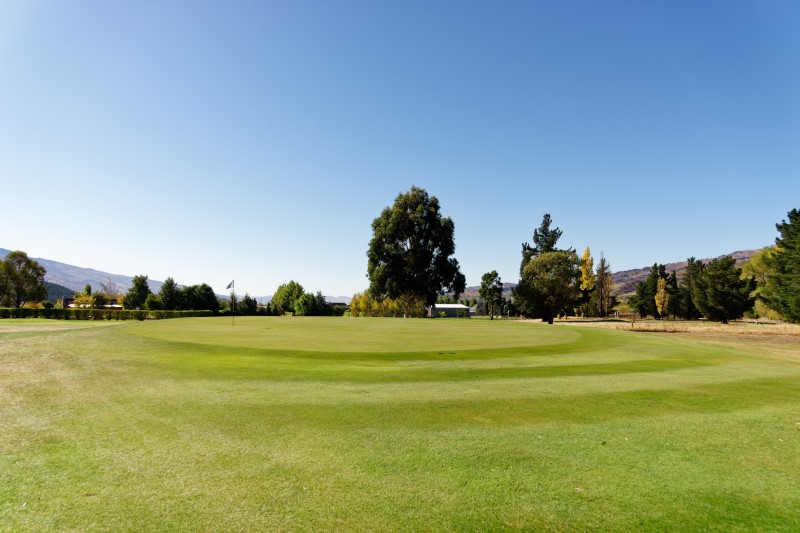
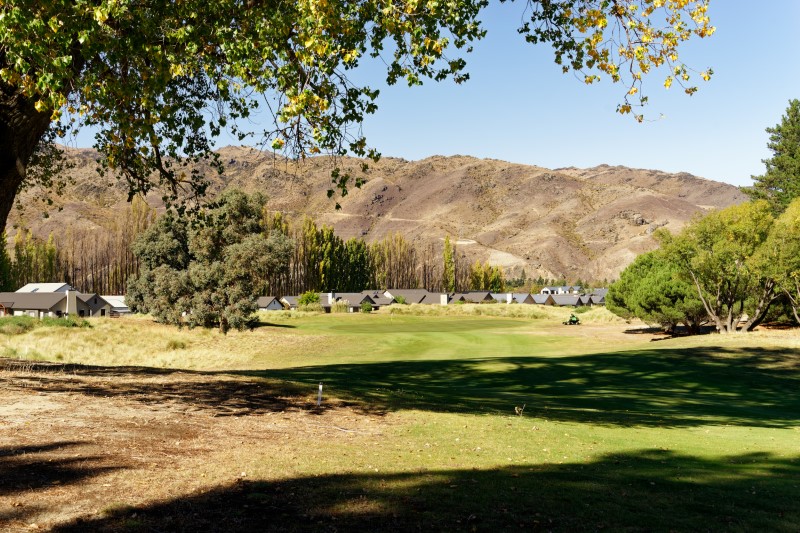
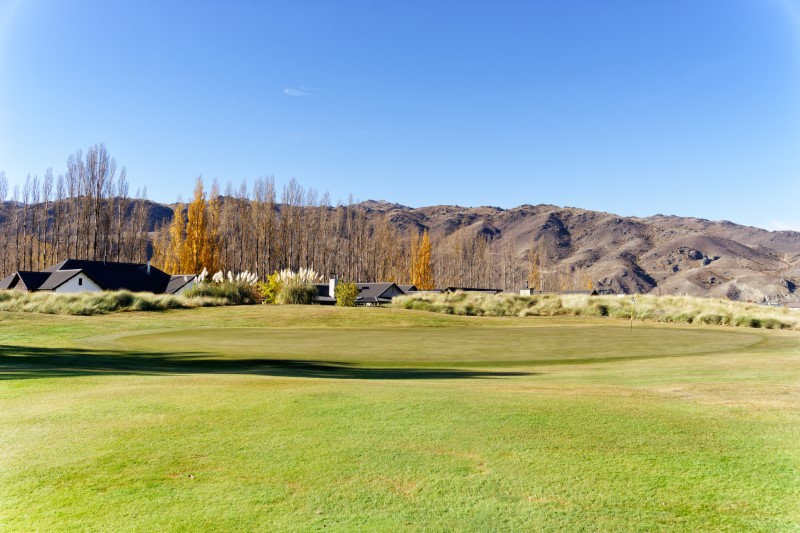
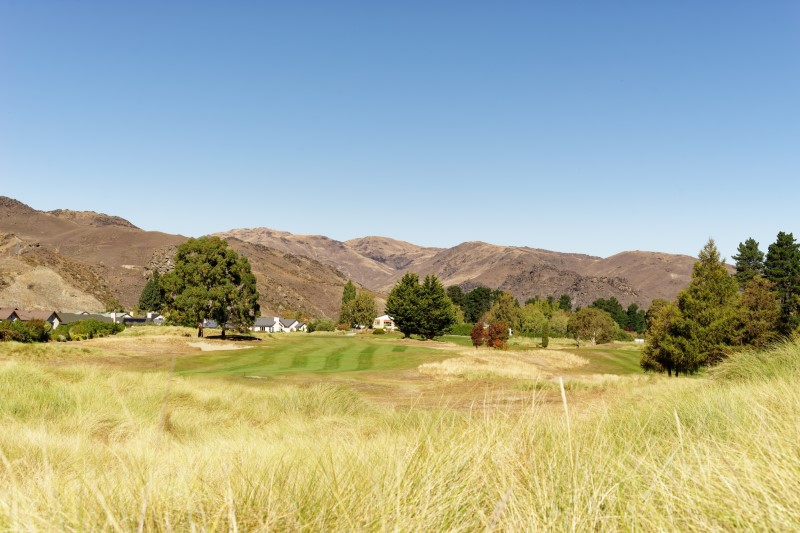
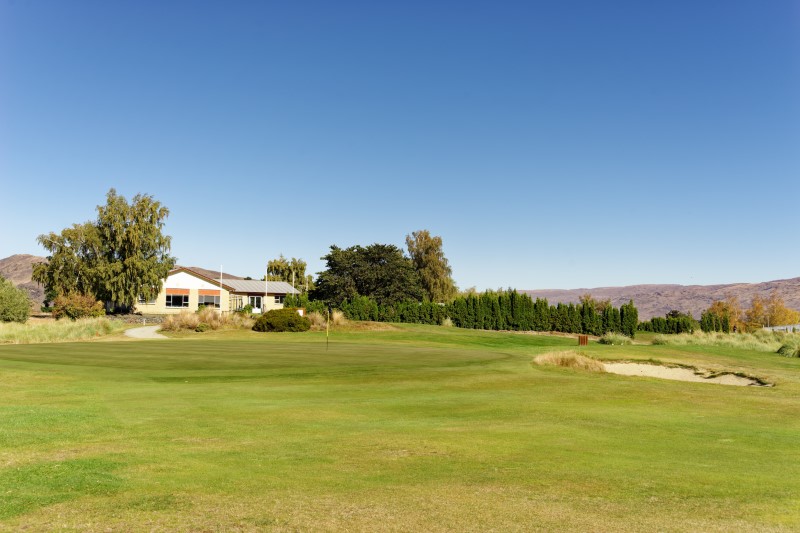
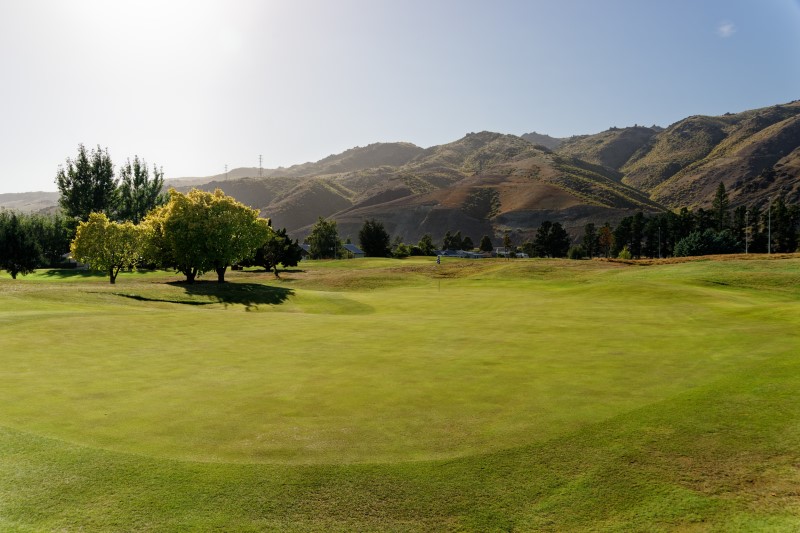
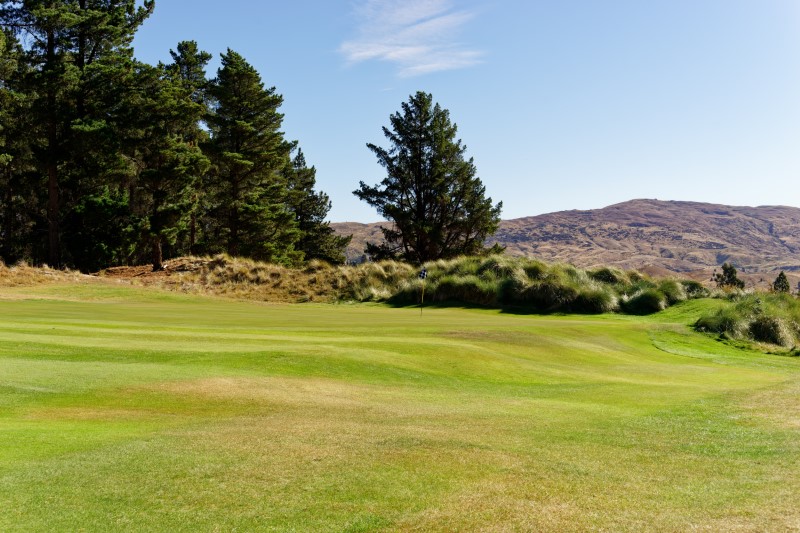
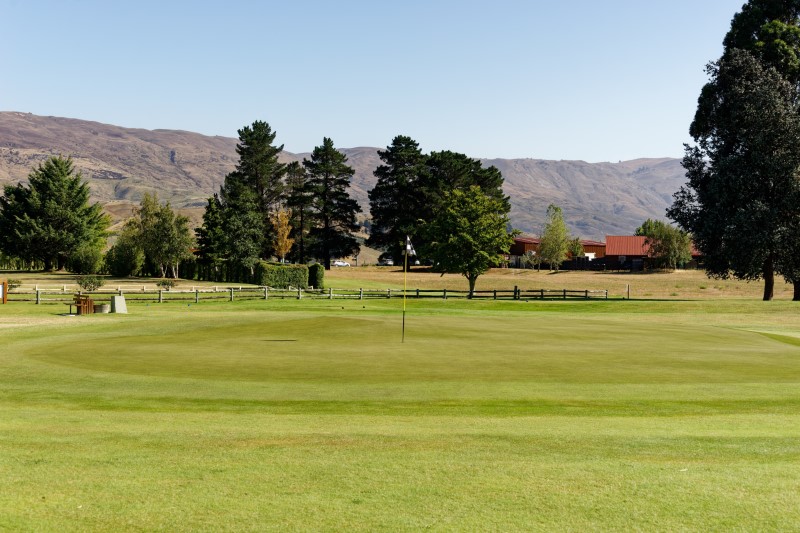
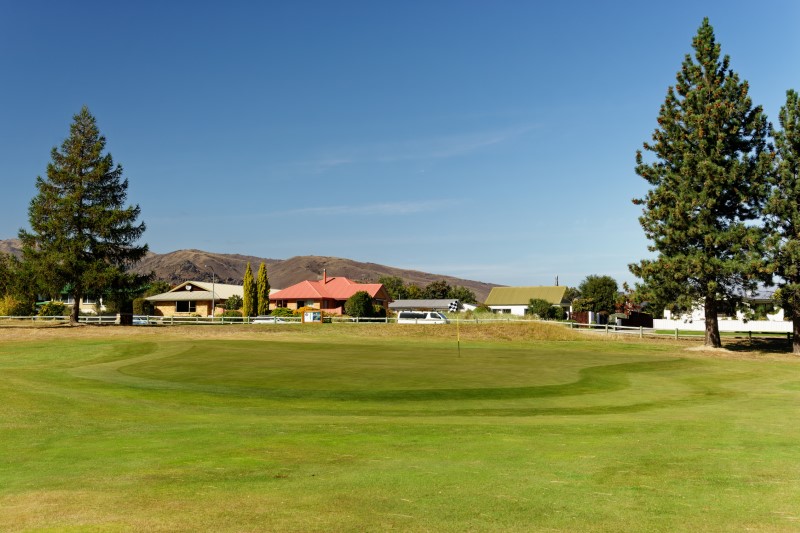
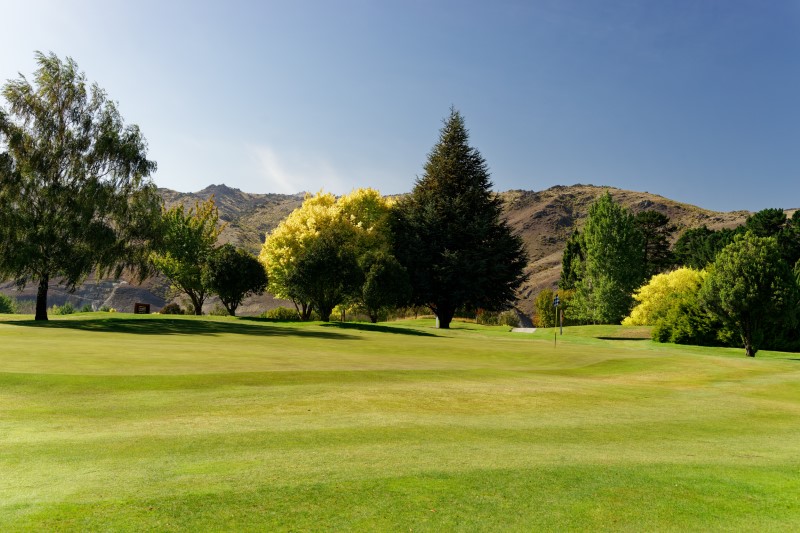
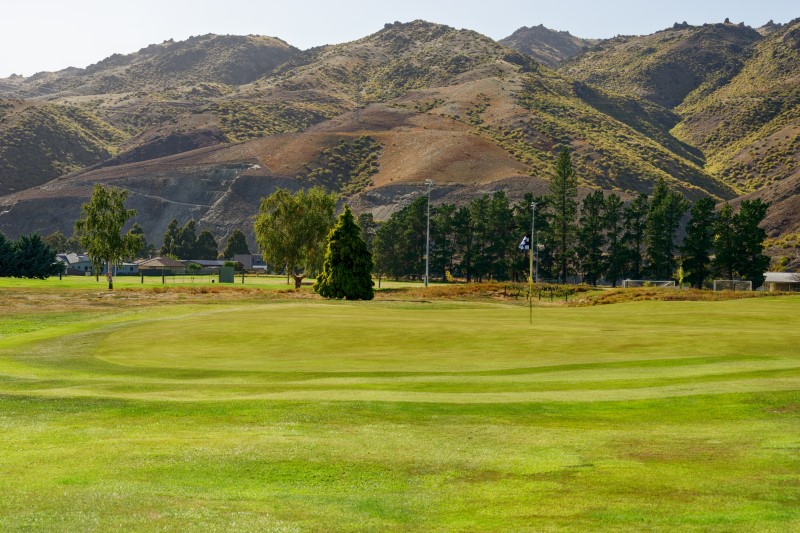
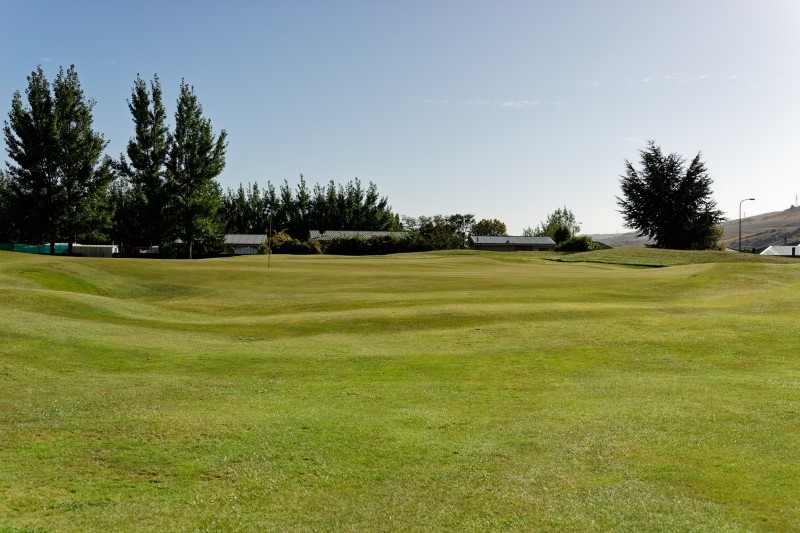
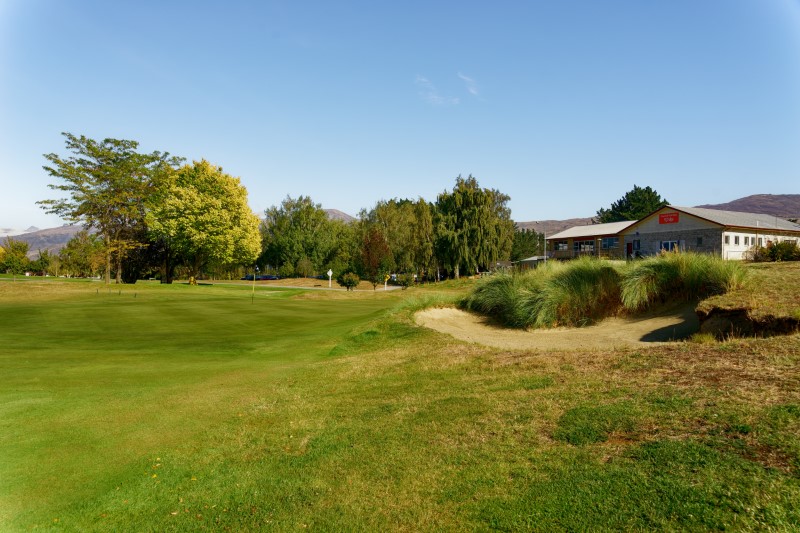
Your second shot requires placement as the hole doglegs slightly left, with the bend on a terrace protected by more marram grass. Once on the terrace the green is 140m away, the approach down-slope to a large, receptive green. Position is important on this green which has few flat areas

Sponsored by

Hole 2 – Frypan

Par 4 – Yellow 286m, White 332m – Stroke 5

One of the more difficult par 4s. Longer hitters need to be wary of the right-side fairway bunker. The undulating green is protected on the left by mounds and a shoulder of Marram while a shot that is too long and right may result in your ball disappearing down the steep bank. Diverse slopes and hollows make for an interesting putting challenge. Caution is suggested.

Sponsored by

Hole 3 – The Hump

Par 3 – Yellow 138m, White 148m – Stroke 17

With a wide entrance and receptive-looking green this hole will surprise many. The mounds of Marram grass on the left side and sandy rough on the right side are a real trap, especially in breezy conditions, while a closer study of the green reveals undulations and pin positions in testing locations. After your first visit to this hole you will sigh with relief if you have managed a par. This is a hole you will remember later.

Sponsored by

Hole 4 – Longridge

Par 5 – Yellow 372m, White 471m – Stroke 7

Elevated tee positions mean tee shots fall into and across a large basin with longer drivers needing to be wary of going left and having trees block your 2nd shot. Most will play an uphill shot across the dogleg onto a wide fairway. The approach to the elevated green is across another basin so you are better to fly this, being mindful of the deep, right-side bunker. Leave your approach short and it will roll back toward you. The green itself has some steeply-sloping areas which can be punishing.

Sponsored by

Hole 5 – Calamity

Par 3 – Yellow 127m, White 167m – Stroke 13

As the name indicates this can be a difficult par 3. A miss short and right leaves a difficult recovery. If you hit long enough, missing the green either side will have you punished by steep slopes or rough ground. When on the green you must contend with one of the steepest greens – often cursed later in the clubrooms. A three is a great relief.

Sponsored by

Hole 6 – Molyneux

Par 4 – Yellow 291m, White 348m – Stroke 9

A hard dogleg left from a landing area flanked by trees will have you giving serious thought to this tee shot. Upon making the corner you still have 150m to the green which has a friendly open apron. But don’t be long or left as the green falls away quickly. Once on the green you will again need to put your thinking cap on as this green has deceptive contours.

Sponsored by

Hole 7 – Sugarloaf

Par 4 – Yellow 269m, White 290m – Stroke 15

This uphill hole looks simple enough but catches many out. Out of bounds and blue gums down the left will frustrate some. A fade or slice conversely may take the slope and put you in the rough or worse, in the trees on the right. Your approach to the green will have just the flag visible as a target and its not until you are 50m from the green that will you know how you have done. Shots long, left or right will disappear quickly. Not all bad news however, with one of the friendliest greens on the course.

Sponsored by

Hole 8 – Clutha

Par 4 – Yellow 345m, White 363m – Stroke 11

Once rated one of the hardest holes for men it is now playing easier with the removal of some trees. However, there are still some areas left to trip the unwary. The average drive will still leave a good 160m to the flag but it is downhill. Positioning the approach on the large green is important as it has a deceptive slope. It is a good green to attack.

Sponsored by

Hole 9 – Halfway House

Par 4 – Yellow 334m, White 357m – Stroke 1

Not as long as Number 8 but testing, especially with a wind in your face. Your drive must negotiate a ridge running across the fairway guarded by a bunker on the left and a crown of Marram grass on the right. Even on top of this ridge you are left with 160m to a green protected by a challenging front-right bunker. Wayward shots can find Cromwell’s notorious Marram grass on the left side of the fairway and often two shots may be required to get clear. Fortunately the large green has friendlier slopes than most. This is a fitting finale to the first nine holes.

Sponsored by

RF Builders

Hole 10 – Virtue

Par 4 – Yellow 293m, White 323m – Stroke 12

From the tee the landing area disappears between a sporadic row of trees on the right and a left side bank over a ridge. Getting here is the easy part, as the green with mounds, hollows and undulating slopes unfolding before you require serious contemplation as to how to approach the different pin positions. Let’s not forget the bunker on the right. Imagination and confidence are required here.

Sponsored by

Hole 11 – Pines

Par 5 – Yellow 375m, White 413m – Stroke 18

A short par 5 but this is a hole not without challenge. On the tee the fairway narrows through a shallow gully with uneven rough to the left. Where you leave your second is critical if you want to attack the pin. A left-side position places the pin behind a mound so an approach from the right is suggested. If the pin is on the right, coming in from the left will take the right side bunkers out of play. Again the green has challenges with slope, hollows and ridges. This is a birdie opportunity but can equally bite the unsuspecting.

Sponsored by

Hole 12 – Goodalls

Par 4 – Yellow 327m, White 333m – Stroke 8

This hole provides a generous landing area though tree trouble looms if you miss it wide either side. The green slopes upward and away meaning bold iron shots will be rewarded. Miss the green however to the right and a steep runoff will make life difficult as will the ever present marram grass to the rear if you gut your shot. The green itself offers few easy putts with steep and subtle slopes to capture those not so cautious. This is a green for well weighted thoughtful putts.

Sponsored by

Hole 13 – Sailor

Par 4 – Yellow 275m, White 311m – Stroke 10

This dogleg to the right bends out of sight over a ridge. A wide fairway allows plenty of room but get too close to the corner and the trees will grab you, closing off the dogleg. A down-slope approach to the green stretching away has to be straight. A hummock midway leftside in the green can make this a difficult hole if you stray, as will the large swale to the right. If the pin is at the front, the hole tends to be more available and receptive. Though flat this green is fast and requires good judgment on putting length.

Sponsored by

Hole 14 – Dunes

Par 3 – Yellow 137m, White 149m – Stroke 14

Not very long but a difficult target in all conditions. The tee shots have a narrow avenue of success with a ridge on the left side and a swale on the right catching any shots slightly off line and sending them off the putting surface. Though not the steepest green, the subtleties in it will make you anxious. Not to be taken lightly.

Sponsored by

Hole 15 – Old Joe

Par 5 – Yellow 424m, White 483m – Stroke 6

Here’s a chance to flex the arms and shoulders and blaze away. A wide and generous fairway starts this hole in a friendly manner but your next shot requires concentration as the fairway narrows with trees either side and out of bounds on the right. If you are still in the middle your approach is to a green angling away from you, again offering challenging valleys and slopes. At first glance this is not a hole deserving of a low rating but the results do not lie and suggest that a par is well-earned.

Sponsored by

Hole 16 – Hosking

Par 4 – Yellow 322m, White 357m – Stroke 2

Another hole with an exciting green. The roadside out of bounds means many will choose to aim left however a group of trees this side may leave your approach blocked. Long hitters need to be conscious of the fairway bunker on the terrace right. The second shot for many will be blind with only the top of the flag visible on a green with hollows, mounds, varying levels and some intriguing pin positions . If you don’t make the green with your second your chipping skills and imagination will be measured for sure.

Sponsored by

Hole 17 – Waterloo

Par 3 – Yellow 100m, White 122m – Stroke 16

Easily reachable hole but differs each day depending on the wind, making club selection a very real issue. The green, whilst large, has different levels and the immediate surrounds are a variety of hollows and mounds that again will test those who miss the green. This is a real “have a go” hole that’s rewarding to the bold.

Sponsored by

Hole 18 – Snakegully

Par 4 – Yellow 332m, White 372m – Stroke 4

No time to relax. Aptly named, this hole will test and bite many. From the tee the valley you must pass through is guarded by steep bunkers either side and thick rough. Your second shot will be long and for some, blind, into a basin green that looks friendly but will also display some surprises once you get past the front right greenside bunker. This hole may impact on your whole round. A par here any day is rewarding. Now it’s time to socialise and relax after a good challenge that we hope had you thinking.

Sponsored by

Shades Direct